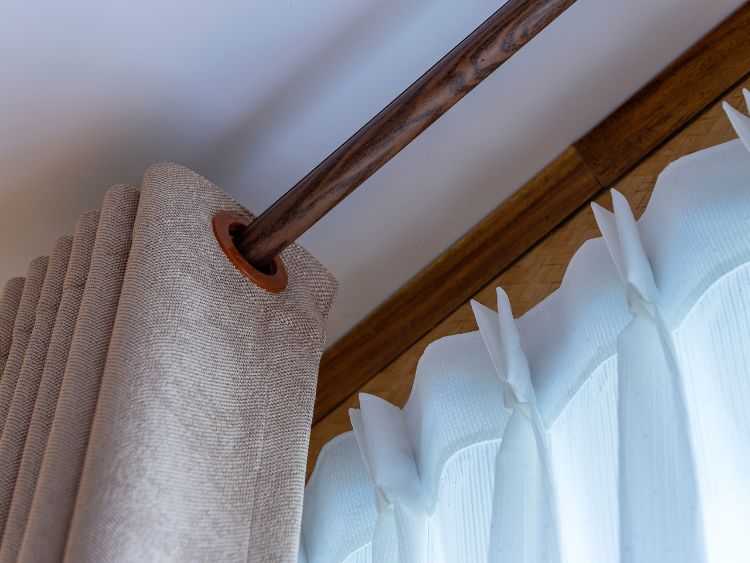
Tapestries are pieces that add warmth, elegance, and character to any space. It can be in terms of decorating cozy rooms, serene bedrooms, or even majestic libraries. It will enhance appeal and transform rooms. This guide will help in transforming tapestry rods for creating stunning displays that can effectively elevate the decor.
Tapestry Rods- An Overview
It is important to understand the various types of tapestry rods that are available. They come in different materials such as metal, acrylic, and wood, having differences in durability and aesthetic. Wood rods exude a traditional charm and warmth, metal rods give a contemporary and sleek look, while acrylic rods appear to be modern through their overall transparent appearance.
The weight and size of the tapestry are to be considered for the selection of a tapestry rod. Heavy tapestries require sturdy rods to support the weight in adequate ways. In addition, select a rod that complements the theme and style of your room decor and the tapestries.
Choosing the right size of Tapestry Rod
The size of the tapestry rod plays a crucial role in determining a visually appealing as well as balanced display. This calls for measuring the total width of the tapestry, where a few inches are added to each side to allow draping it properly. The space enables the tapestry to hang smoothly without looking stretched or cramped. Also, levy some thought into where the tapestry is to be hung. Larger rooms having higher ceilings will require longer rods for a grandiose look. Small rooms should benefit from shorter rods for maintaining proportionality.
Finding the Right Tapestry Rod and Hardware, Installation of the Hardware and Tapestry Mounting
- Usually for tapestry wall hangings which are usually made up of thinner textiles, magnetic hanger frames are used. The option utilizes magnets for forming clamping pressure across the textile, keeping aside the need for nails or screws. But choosing the hanger will be dependent on what suits personal style, the size of the tapestry, or the space arrangement.
- Magnetic rods work as innovative solutions for firmly attaching the tapestry to walls. These can be installed simply but need to be used on thinner, smaller items. The ease of use and sleek designs make these excellent options for highlighting thin textiles in a modern, unique way.
- The method of securing a tapestry longer on the wall will depend on the material of the wall as well as the type of tapestry. Some solutions involve using a sleeve, adhesive hanging strips, and curtain or tapestry hangers with clamps. Every mechanism has pros and cons, so it would be significant to consider person-specific needs for securing quilt hangers.
- Talking of invisible wall hangers, the adhesive needs to be affixed to the wall wherein they would adhere to the wall brackets. The bracket tab facilitates inserting the portion of a tapestry into the bar slot while the tapestry rests on the bracket. The installation’s ease and discreet design make these rods a great alternative to other rods.
- Wall anchors and screws can hold heavier or larger tapestries, whereas nails would be suitable for lightweight ones. The right hardware needs to be chosen for a tapestry as that would ensure a secure, safe display. Tapestries coming with grommets can be hung using adhesive hooks. To not punch holes in your favorite tapestry, one should choose clip-on rings or hooked curtain clips. Additionally, if you have a curved wall and want to avoid holes, Velcros becomes a great solution for easy placement and removal of the tapestry. Ensure to use a level for getting the line straight.
Process of Installation
- Gather Tools- Bring the necessary tools in place, where you keep everything in check including the drill, wall anchors, screws, measuring tapes, and a level.
- Mark Placement- The desired placement can be marked on the wall, where a level to see if the markings are even and straight can be used.
- Install Wall Anchor- If the rod is to be installed on a plaster wall or a drywall, use anchors for added support. The anchors can be put inside the wall through drilled pilot holes.
- Attach Bracket-The rod brackets are to be secured using screws. The brackets are to be aligned with the markings and be in level.
- Put the Rod-When the brackets are in place securely, the tapestry rod can be installed into the brackets. The rod should be double-checked for being in the level before tightening the screws.
- Hang the Tapestry-The tapestry can be draped over the rod where it can hang evenly on both sides. The positioning can be adjusted as required.
Final Appeal
After the tapestry rod has been installed, finishing touches would enhance the overall aesthetic.
- Concealing screws- Screws can be covered with decorative finials and caps for exuding a polished finish.
- Adjustment of Drapery- The tapestry’s positioning needs to be fine-tuned for ensuring it hangs evenly and smoothly. A steamer can be used for removing creases and wrinkles for a pristine look.
- Consider Lighting- Install fixtures below or above the tapestry for illuminating it as per a focal point in the room. Adjustable spotlights would highlight particular details, thereby adding dimension and depth to the overall display.
Conclusion
Through careful selection of the right material, style, and size of tapestry rods, visually stunning displays that enhance and complement the decor are expected to be achieved. From sleek metal options to traditional wood rods, or magnetic hangers, there are endless possibilities. The installation process will seemingly add finesse to the interior design. The following steps as outlined in the guide will transform your walls into walls of art. Turn a space into a captivating gallery of memories as you let your imaginations soar.


